
March 24, 2026
You don’t need a plumber’s licence or a van full of heavy equipment to tackle a leaky cabinet. With three basic tools and twenty...
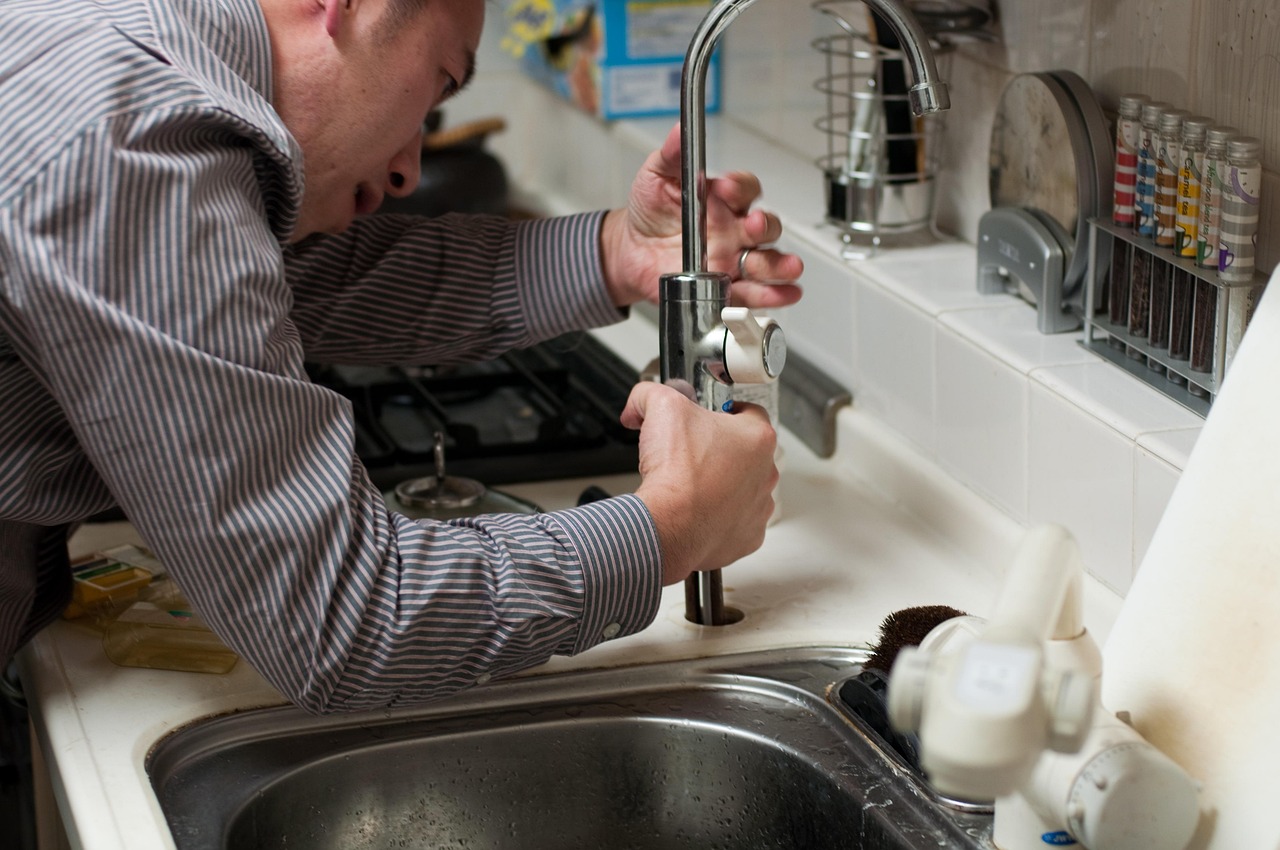
If you have ever peered under your kitchen sink or tackled a DIY plumbing repair, you have likely encountered push-fit technology. These clever little fittings have revolutionised the plumbing trade in the UK, replacing the need for complex soldering or compression joints with a simple “push and click” mechanism.
While connecting them is a breeze, removing a push-fit plumbing fitting can sometimes feel like solving a puzzle. If you pull on the pipe, it simply tightens its grip. It is a brilliant design for water security, but a potential headache for a homeowner trying to fix a leak or reroute a pipe.
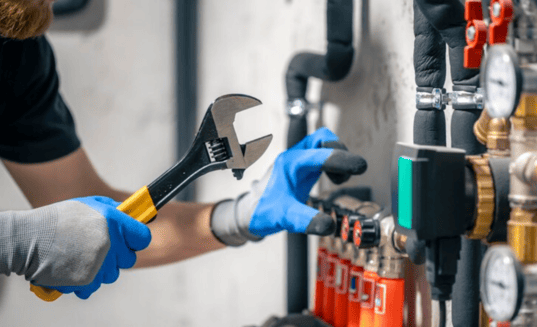
Whether you are dealing with grey plastic Speedfit connections, copper pipes, or brass SharkBite fittings, removing them does not require brute force. It requires technique. In this guide, we will walk you through exactly how to safely disconnect these fittings without damaging your pipework, ensuring your plumbing tasks run as smoothly as the water in your taps.
Before you grab your toolbox, it helps to understand what is happening inside the joint. Push-fit fittings utilize a stainless steel grab ring (often called a collet) with internal teeth. When you insert the pipe, these teeth angle inwards, allowing the pipe to slide in. However, when you try to pull the pipe out, the teeth dig into the material, locking it firmly in place against an O-ring that creates the watertight seal.
To remove the Fitting, you must retract these teeth. This is usually done by compressing the protruding collar (the collet) against the Fitting’s body. Once the collar is depressed, the teeth release their grip, and the pipe should slide out freely.
While many plastic push-fit fittings can technically be removed by hand, having the right tools makes the job significantly easier and reduces the risk of damaging the Fitting if you plan to reuse it.
Before touching any fittings, you must isolate the water supply. Locate the stopcock or isolation valve for the specific fixture you are working on, and turn it off. Once isolated, open the tap to drain the excess water and depressurise the system.
Warning: Never attempt to remove a fitting on a pressurised system. Not only will you get soaked, but the pressure can also make it physically impossible to compress the collet to release the pipe.
Look closely at the Fitting.
For Standard Plastic Fittings (Speedfit):
For Hep2O Fittings:
For Brass/SharkBite Fittings:
Even with the correct technique, things do not always go to plan. Here is how to handle stubborn connections.
If the pipe feels stuck, do not yank it. This usually means the collet isn’t fully depressed. Ensure you are pressing the collar squarely and evenly into the Fitting. If you are working with old copper pipes, limescale or paint buildup might be preventing the collet from sliding back. Gently clean the pipe near the Fitting with a scourer before trying again.
If the grab ring has bitten too deeply into a plastic pipe, it may have raised a burr that catches as you try to pull it out. In this scenario, you may have to cut the pipe. Ensure you cut it as close to the fitting as possible to preserve pipe length for the repair.
It is common in older London homes to find pipes painted over. Paint can glue the collet mechanism shut. You will need to carefully scrape away any paint from the Fitting’s entry point and the pipe itself to allow the mechanism to move.
If you plan to reuse the Fitting or install a new one, proper preparation is vital to prevent leaks.
Push-fit fittings are designed to be user-friendly, but plumbing can be unpredictable. If you encounter a fitting that is completely seized, or if you discover that the pipework itself is corroded or damaged beyond a simple DIY repair, it is time to call in expert help.
Additionally, if the Fitting is in a hard-to-reach area—like under floorboards or behind a tiled wall—the risk of causing secondary damage increases. A professional plumber will have the specific removal tools and the experience to extract the Fitting without causing a larger problem.
For reliable assistance, you can always count on Ontime Plumbers for your Local London Emergency Plumber services. Our team is experienced with all types of modern and traditional pipework, ensuring your home remains dry and secure.
Yes, most push-fit fittings (like Speedfit and SharkBite) are designed to be demountable and reusable. However, you should always check the internal O-ring and the stainless steel teeth. If the teeth are bent or the rubber is damaged, replace the Fitting.
Technically, no. You can usually depress the collet with your fingers. However, the specific release tool makes it much easier, especially if the Fitting is in a tight space or if your hands are wet.
Two things usually cause this: either the pipe was not pushed in fully (past the O-ring), or a sharp edge on the pipe damaged the O-ring during insertion. Always deburr your pipes!
Mastering the art of removing a push-fit plumbing fitting is a great skill for any homeowner. It allows you to fix minor leaks, change taps, or cap off pipes during renovation work with confidence. Remember, the secret is in the “push and pull” technique, not in brute strength.
Always prioritize safety by depressurising your system, and take the time to prepare your pipes properly before reconnecting them. By following these steps, you can handle your plumbing maintenance like a pro. However, if you are ever unsure or the job turns out to be bigger than expected, professional help is just a phone call away.
You don’t need a plumber’s licence or a van full of heavy equipment to tackle a leaky cabinet. With three basic tools and twenty...

Leak detection is crucial for maintaining the integrity of your property. Undetected leaks can lead to significant damage and costly repairs. Understanding the cost...
When you turn on a tap to fill the kettle or run a bath, you likely don’t give much thought to the network of...